News Article
Gallium Arsenide Etch Without the Sketch
For the first time, researchers have watched and controlled 3D gallium arsenide etching in real time
To craft some of the most complex semiconductors, manufacturers etch pre-defined patterns into wafers, carving out structures layer by layer. The processes can be time-consuming and are executed blindly, leaving few opportunities to monitor the etching or make any necessary adjustments.
Now, researchers at the University of Illinois at Urbana-Champaign have developed a technique to watch and control the etching of semiconductors as it is happening, with a height resolution on the nanometre scale.
The researchers describe the technique in the September 28th, 2012, issue of Light: Science & Applications, an open-access, peer-reviewed publication from the Nature Publishing Group.
In the paper, the researchers explain how they combined real-time observations from epi-illumination diffraction phase microscopy (epi-DPM) with photochemical etching techniques to manufacture GaAs micro-lenses as a proof-of-concept for the techniques.
"The instrumentation we are developing will allow engineers to more thoroughly understand the dynamics of their fabrication processes and make fine adjustments to the processing conditions in real-time," says principal investigator and University of Illinois at Urbana-Champaign engineering Lynford Goddard, a National Science Foundation CAREER grantee.
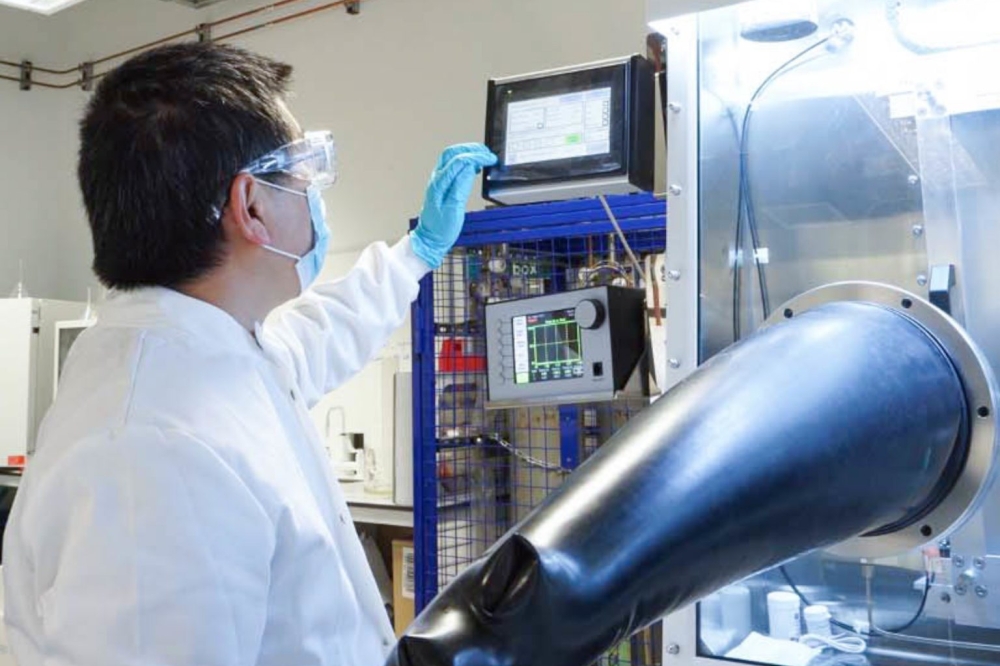
The technique incorporates an optical microscope, a projector, a Nd:YAG frequency doubled green laser, digital camera and a series of mirrors, lenses and filters. The setup, allowed the engineers to observe interference patterns as light bounced off of a semiconductor sample, revealing surface details as small as 2.8 nm in height.
As the camera captures interference images, software converts them to topographic height maps in real time. Each image is stable, shifting as little as 0.6 nm in height, per pixel, from frame to frame. The new process allows researchers to not only watch an etching underway, but to instantly make adjustments using a digital projector.
A National Science Foundation Major Research Instrumentation grant supported the research with matching funds from the University of Illinois.
"This optical non-invasive, non-destructive technique can monitor the dynamics of semiconductor fabrication processes in real time with nanoscale resolution," adds Leon Esterowitz, the NSF program officer who oversaw Goddard's instrumentation grant. "This 3-D technique should significantly reduce processing time, improve control of device properties, and reduce fabrication costs for a wide variety of semiconductor devices."
Currently, semiconductor manufacturers lose time and material calibrating their equipment and fabrication processes on dummy wafers before etching a retail product, and then have to do a post-etching check of the chips to ensure that the calibration during production was consistent.
The new ability to watch and control the etching in real time eliminates both the pre- and post-inspection steps. Additionally, because the technique uses optical microscopy, the semiconductor is not damaged by the illuminating source, as it would be with other electron microscope methods and techniques such as scanning electron microscopy or focused ion beam inspection.
"The exceptional stability and accuracy of our method will help to address some grand challenges in the semiconductor manufacturing industry," adds Goddard. "Besides enabling adaptive process control, we have begun to adapt the method to find isolated defects in patterned semiconductor wafers. Finding those device-killing defects can improve the overall yield during processing and reduce the cost of consumer electronics."

3-D image of the height profile of the University of Illinois logo etched in gallium-arsenide (Credit: Chris Edwards, Amir Arbabi, Gabriel Popescu, and Lynford Goddard, Department of Electrical and Computer Engineering, University of Illinois at Urbana-Champaign)
The image above is a false colour 3-D image that represents the height profile of the University of Illinois logo etched onto the surface of a GaAs semiconductor substrate. The image was captured in situduring wet etching using epi-illumination diffraction phase microscopy (epi-DPM) with a laser source. A 5x objective was used and provided a 320 µm by 240 µm field of view. The total etch depth, i.e. the height difference between the orange and purple regions, was approximately 250 nm after the 45 second etch. The diagonal line in the lower left corner may be a scratch in the sample.
Now, researchers at the University of Illinois at Urbana-Champaign have developed a technique to watch and control the etching of semiconductors as it is happening, with a height resolution on the nanometre scale.
The researchers describe the technique in the September 28th, 2012, issue of Light: Science & Applications, an open-access, peer-reviewed publication from the Nature Publishing Group.
In the paper, the researchers explain how they combined real-time observations from epi-illumination diffraction phase microscopy (epi-DPM) with photochemical etching techniques to manufacture GaAs micro-lenses as a proof-of-concept for the techniques.
"The instrumentation we are developing will allow engineers to more thoroughly understand the dynamics of their fabrication processes and make fine adjustments to the processing conditions in real-time," says principal investigator and University of Illinois at Urbana-Champaign engineering Lynford Goddard, a National Science Foundation CAREER grantee.
The technique incorporates an optical microscope, a projector, a Nd:YAG frequency doubled green laser, digital camera and a series of mirrors, lenses and filters. The setup, allowed the engineers to observe interference patterns as light bounced off of a semiconductor sample, revealing surface details as small as 2.8 nm in height.
As the camera captures interference images, software converts them to topographic height maps in real time. Each image is stable, shifting as little as 0.6 nm in height, per pixel, from frame to frame. The new process allows researchers to not only watch an etching underway, but to instantly make adjustments using a digital projector.
A National Science Foundation Major Research Instrumentation grant supported the research with matching funds from the University of Illinois.
"This optical non-invasive, non-destructive technique can monitor the dynamics of semiconductor fabrication processes in real time with nanoscale resolution," adds Leon Esterowitz, the NSF program officer who oversaw Goddard's instrumentation grant. "This 3-D technique should significantly reduce processing time, improve control of device properties, and reduce fabrication costs for a wide variety of semiconductor devices."
Currently, semiconductor manufacturers lose time and material calibrating their equipment and fabrication processes on dummy wafers before etching a retail product, and then have to do a post-etching check of the chips to ensure that the calibration during production was consistent.
The new ability to watch and control the etching in real time eliminates both the pre- and post-inspection steps. Additionally, because the technique uses optical microscopy, the semiconductor is not damaged by the illuminating source, as it would be with other electron microscope methods and techniques such as scanning electron microscopy or focused ion beam inspection.
"The exceptional stability and accuracy of our method will help to address some grand challenges in the semiconductor manufacturing industry," adds Goddard. "Besides enabling adaptive process control, we have begun to adapt the method to find isolated defects in patterned semiconductor wafers. Finding those device-killing defects can improve the overall yield during processing and reduce the cost of consumer electronics."

3-D image of the height profile of the University of Illinois logo etched in gallium-arsenide (Credit: Chris Edwards, Amir Arbabi, Gabriel Popescu, and Lynford Goddard, Department of Electrical and Computer Engineering, University of Illinois at Urbana-Champaign)
The image above is a false colour 3-D image that represents the height profile of the University of Illinois logo etched onto the surface of a GaAs semiconductor substrate. The image was captured in situduring wet etching using epi-illumination diffraction phase microscopy (epi-DPM) with a laser source. A 5x objective was used and provided a 320 µm by 240 µm field of view. The total etch depth, i.e. the height difference between the orange and purple regions, was approximately 250 nm after the 45 second etch. The diagonal line in the lower left corner may be a scratch in the sample.

